Short history
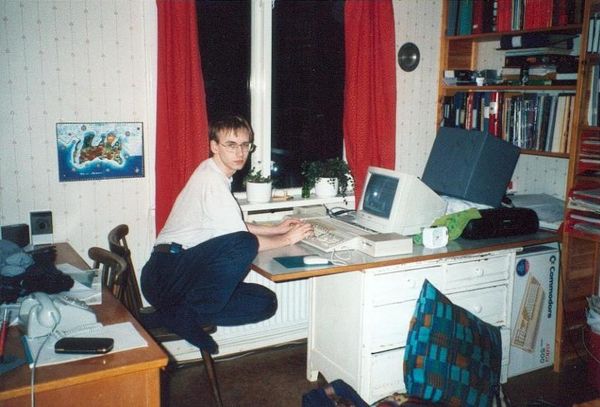
1994: Netscape Navigator made the web popular.
2004: Internet Explorer by Microsoft destroyed Netscape, dominating with 94% market share.
Then started the browser war, with Firefox, Chrome and Safari. It became a real pain trying to create websites that would look and work as intended in all popular browsers. All the browsers had numerous differences in implementation and bugs. Libraries like jQuery were created for helping building sites that would work on most versions of most browsers. Many features could not be used since they would not work the same on all browsers. New features could not be used since you would still need to support all the older browsers used by people.
All this changed in 2014. HTML5 would revitalize the web after many years of XHTML. ES5 would finally get full support in all the browsers. But more important than this was the introduction of Babel.
NodeJS is a javascript engine that lets you run programs outside the browser. Babel was one such program that can rewrite other javascript programs so that they can run on older versions of browsers. That would let you write javascript using the latest version ES6, and still having it work on older versions of all the popular browsers. ES6 introduced a lot of new things including class declarations.
The power of Babel allowed for programs to use packages from the NodeJS ecosystem. Babel would transform them for compatibility with the web and tools like Webpack would optimize them by minimizing the size and bundle all the files together for faster load times. This led to an explosion in popularity and the rise of React.
The evolution of the web platform
Around the same time in 2014, all the major browsers would start to use automatic updates. Instead of many browsers being 5 or more years old, most users would have the latest browser while using the web. This was the rise of the evergreen browsers, that would eventually shorten the time for new features being available for almost all of the users.
Every year there would be lots of new functionality introduced. The last couple of years would see major improvements every single month. Popular libraries and frameworks would serve as inspiration for new features added to the browser.
This means that popular libraries with much needed features bit by bit would be made obsolete by similar features being built into the language and web api in the browser. Popular frameworks like React, Angular and Vue have evolved but their core architecture is based on the capabilities of the web at the time of their creation. They are still using build tools with transpilation and bundling even though this is no longer necessary and makes the whole framework much more complicated than it has to be.
Every added library comes with a cost. Updates in one part can force an upgrade of other parts. There may be security vulnerabilities or bugs. Every added interdependent component makes it harder to replace or fix functions that don't do what you want. The framework will limit what you can do, making many custom solutions complicated and suboptimal. More time will go to adapting what you want to do to the capabilities and architecture of the chosen framework. Every library and every part of the toolchain and build process is another potential point of failure. Installing the example project with create-react-app will download 1500 package dependencies totaling over 2 million lines of javascript code. At the time of writing, they include 6 high level vulnerabilities. How long will it take you to understand what's happening across all those lines of code?
Since frameworks like React and Angular have cemented its position as a de facto webstandard, there is a huge ecosystem of existing sites, apps, libraries and people. Mastery in these prevailing toolchains are required by more than 95% of existing jobs. But this article is not about culture or popularity. It’s about how to do better. And regardless of what framework you end up using, you should still learn the foundation and capabilities of the modern web. And be prepared to re-learn every year.
The modern web
There are three main browser engines today. These are the ones used by Chrome, Safari and Firefox. Most other browsers are using Chromium, which is the engine known for Chrome. About 95% of all users have a browser version that is less than two months old.
The core features of the modern web includes ES6 (2017), HTTP/2 (2017), CSS Grid (2017), Shadow DOM (2018), CSS Container Query (2023), importmap (2023), Declarative Shadow DOM (2024) among many other Web APIs, javascript features and CSS modules. Many of these features have conditional polyfills that is javascript code that will make the feature work even in older browsers. The years given is the time it was supported in all three engines.
This article will start from the beginning for how to develop web applications that use npm packages. I may continue in later articles with more considerations often covered by popular frameworks, like routing, user sessions, database access, state management with reactivity, Server Side rendering, testing, documentation and deployment.
VS Code
I started out with Emacs and still use it daily. You can use whatever text editor you like. But it should include syntax highlighting, indentation and some sort of integrated documentation like code autocompletion. Microsoft Visual Studio Code is very popular, especially for web development.
You will need a web server for serving the website. The easiest to start with might be the ritwickdey.LiveServer extension for VS Code. Open your project folder, create a html file and then Go Live using the button at the bottom right.
I hate all distracting elements including all the helpful popups that VS Code throws at you. The editor has thousands of things to configure to your liking. I disabled most things related to quickSuggestions, suggestOnTriggerCharacters, cursorBlinking, inlineSuggest, parameterHints, suggest, snippetSuggestions, closeEmptyGroups, autoClosingQuotes, autoClosingBrackets, autoClosingTags and lightbulb. I also removed some of the columns in the editor like minimap, glyphMargin and showFoldingControls. I’m also using the extension garaemon.vscode-emacs-tab and bound it to shift enter for indenting the current line.
I also have a personal “Cheat sheet” for VS Code.
ES modules
NodeJS introduced CommonJS modules (cjs), but those only work on the server. You will recognize them by their use of require for importing libraries. ES6 introduced platform support for modules (mjs) using import and export syntax, which will also work in the browser.
Most examples of importing libraries are using bare module specifiers. Those assume you are using nodeJS or that you are transpiling the code before running them on the browser. You don’t need a compilation step. Just provide the actual path to the module you want to require, using a relative or absolute path. The mjs file extension may not be associated with the mime type text/javascript in older web servers. You could use js instead, but I prefer mjs since that is suggested by NodeJS and I use it as a way to declare them as real modules and not something that has to be transpiled. You can add the mime type to the web server if needed.
Here is a complete example of module use for remembering form input, in case the user accidentally closes the page before submitting.
index.html
<!DOCTYPE html>
<meta name="viewport" content="width=device-width, initial-scale=1">
<style>
	textarea { width: 100%; min-height: 10rem; box-sizing: border-box; }
</style>
<body>
    <textarea disabled id="notes"></textarea>
</body>
<script type="module">
	import {persist_input} from "/utils.mjs";
	persist_input( document.getElementById('notes') );
</script>
utils.mjs
export function persist_input($el){
  $el.value = localStorage.getItem( $el.id );
  $el.disabled = false;
  $el.addEventListener('input', on_input);
  function on_input() {
    localStorage.setItem($el.id, $el.value);
  }
}
A larger project will usually use several layers of nested folders. For those projects, it’s usually easier to use absolute paths. But while using absolute paths, you must keep track of what folder to use as the web root. It’s usually named public. You can tell the Live Server extension to use that folder by creating a file .vscode/settings.json with the content
{
  "liveServer.settings.root": "/public"
}
Web components
Web components are the standard for reusable encapsulated components. Not to be confused with the non-standard framework-specific component systems such as react components and the like. Components lets you create your own html tags with any functionality you like. Here we encapsulate the persist_input function as a component:
persist-input.mjs
import {persist_input} from "/utils.mjs";
class El extends HTMLElement {
  connectedCallback(){
    const $inputs = this.querySelectorAll("input,textarea");
    for( const $inp of $inputs ) persist_input( $inp );
  }
}
customElements.define("persist-input", El);
And now we can use it for persisting all input elements inside the tag:
<!DOCTYPE html>
<meta name="viewport" content="width=device-width, initial-scale=1">
<style>
	textarea { width: 100%; min-height: 10rem; box-sizing: border-box; }
</style>
<body>
  <persist-input>
    <textarea disabled id="notes"></textarea>
  </persist-input>
</body>
<script type="module">
  import "/persist-input.mjs";
</script>
NodeJS
NodeJS is the server side javascript engine used by most frontend frameworks. It can run under Windows, but will work better on a unix-like system like MacOS or Linux or the Windows Subsystem for Linux (WSL). You will be using a terminal with the Bash shell for command line interface (CLI) tools. Start by installing the Node Version Manager (nvm). With that, you can install the latest stable version of node.
Each project can have its own installed CLI tools, located in ./node_modules/bin. Those can be run by using npx, the relative path, or with a tool that checks the project bin dir using bash command_not_found_handle(). Keeping the tools with the project makes it easier to share the code and make sure that the project works with the version of the tool installed.
The modules we created don't need to be compiled. But many modules from npm do need a compilation step. We often need to change the module paths used inside the imported modules so that they can work in the browser. We can use rollup for repairing the paths in the module. We will have to tell rollup to not bundle or mangle the files. We only need the path translation.
An alternative to repairing the import paths is to use the <script type="importmap"> feature for mapping directories or bare module specifiers to their actual location. For this, you can use a tool that finds all the module paths and places them in an importmap.
Lit is a library that can simplify writing web components. During rollup, we can tell it to use the uncompressed development version of the files. In most cases, there is no need to use minified files. I believe in giving every user the freedom of seeing what's happening in the pages they visit. We can always optimize later if it's truly needed.
Standing in your project directory, install lit and rollup with npm i -D lit rollup @rollup/plugin-node-resolve. This will create a manifest in package.json and install the modules in node_modules.
Here is the rollup.config.mjs I use for repairing the files. Use the config by running npx rollup -c.
import resolve from "@rollup/plugin-node-resolve";
export default {
 input: [
   "lit",
   "lit/decorators.js",
 ],
 output: {
   dir: "public/x",
   format: "es",
   preserveModules: true,
   minifyInternalExports: false,
   entryFileNames: (chunkInfo) => {
     return (
       chunkInfo.name
         .replace("node_modules", "")
         .replace("/index", "") +
       ".mjs"
     )
   },
 },
 plugins: [
   resolve({ exportConditions: ["development"] }),
 ],
}
The result is put in the folder x. I like short names, but you may want to call it external or vendor to show that it is an external dependency.
Now we can use the library for creating components, like this minimal
say-hello.mjs
import {html, LitElement} from '/x/lit.mjs';
class El extends LitElement {
 render() { return html`<p>Hello</p>` }
}
customElements.define('say-hello', El);
And now it can be used as a component with
<!DOCTYPE html>
<body>
 <say-hello></say-hello>
</body>
<script type="module">
 import "/say-hello.mjs";
</script>
npmjs.com has millions of packages. And this is how you can use them for building web applications.
Optimized delivery
Once upon a time we used HTTP/1 for delivering files. That protocol had an overhead for each file, so we used bundlers to minimize the number of files the browser needed to fetch. This is no longer the case with HTTP/2 and HTTP/3. It doesn’t make a difference if the content resides in one large file or 1000 small ones. In fact, it’s much better to keep them as many small files, since the browser will only fetch the files that are needed for the current page, and only if the files have updated since the last fetch.
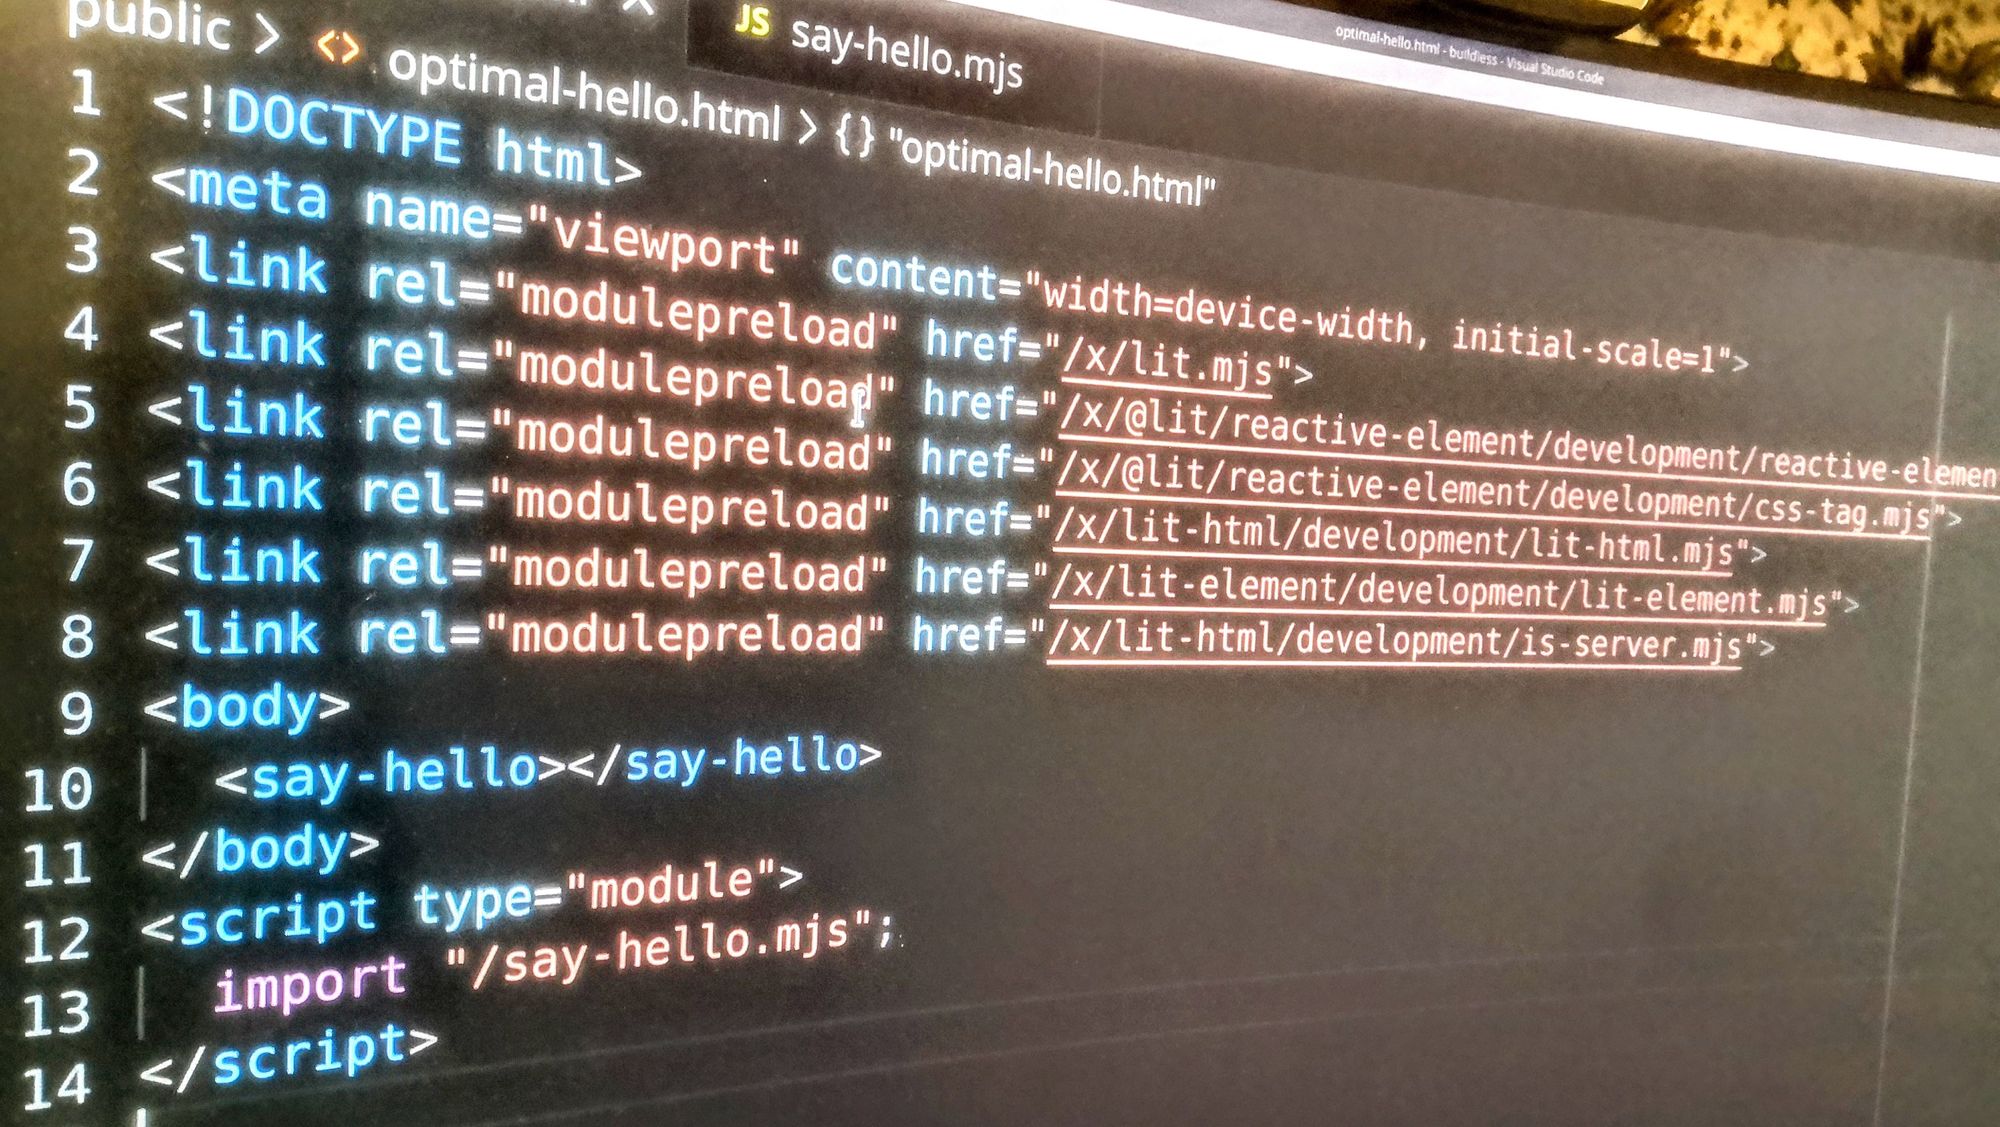
For a tree of dependencies where module 1 imports module 2 that imports module 3, the browser will only start to download the dependent modules after the previous ones have been loaded and parsed. This is called the network waterfall. For optimizing the load, you can just declare what modules to load directly from the html page. One way to do that is to use <link rel="modulepreload" href="/my-module.mjs"> tags at the beginning of the page. You can use the modulepreload tool from npmjs to automatically look up all nested dependencies of the page and inject the modulepreload tags that will eliminate the network waterfall. In our example, this will add
<link rel="modulepreload" href="/x/lit.mjs">
<link rel="modulepreload" href="/x/@lit/reactive-element/development/reactive-element.mjs">
<link rel="modulepreload" href="/x/@lit/reactive-element/development/css-tag.mjs">
<link rel="modulepreload" href="/x/lit-html/development/lit-html.mjs">
<link rel="modulepreload" href="/x/lit-element/development/lit-element.mjs">
<link rel="modulepreload" href="/x/lit-html/development/is-server.mjs">
I did my own tool for generating preloads before found this newly published tool.
[[https://dev.to/aigan/getting-started-with-web-development-in-2024-2b9n]]
[[https://www.facebook.com/aigan/posts/10159741717467393]]
[[https://twitter.com/aigan/status/1737440066161516812]]